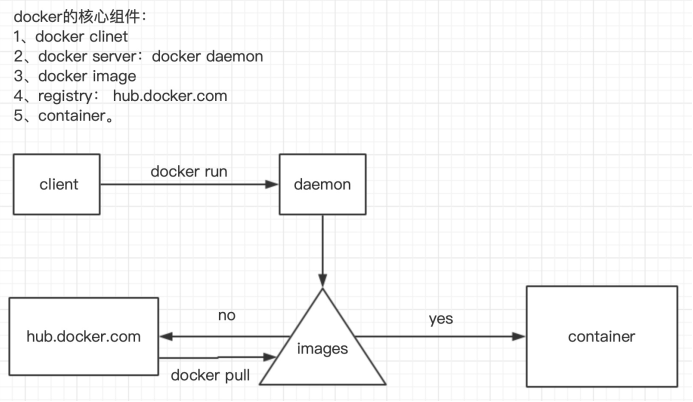
Docker的安装 Docker的官网
必须是Centos7版本,最好是7.7的内核,docker目前不支持centos8
Docker源路径的寻找
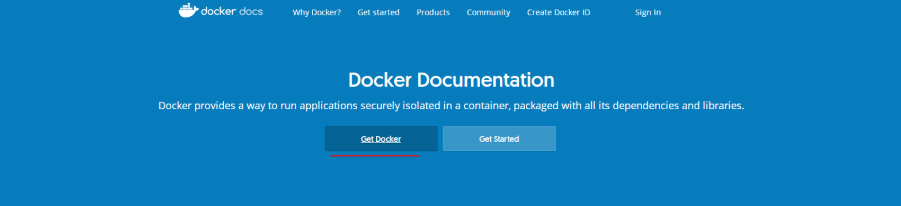
点击Get Docker可以查看有关下载Docker的文档
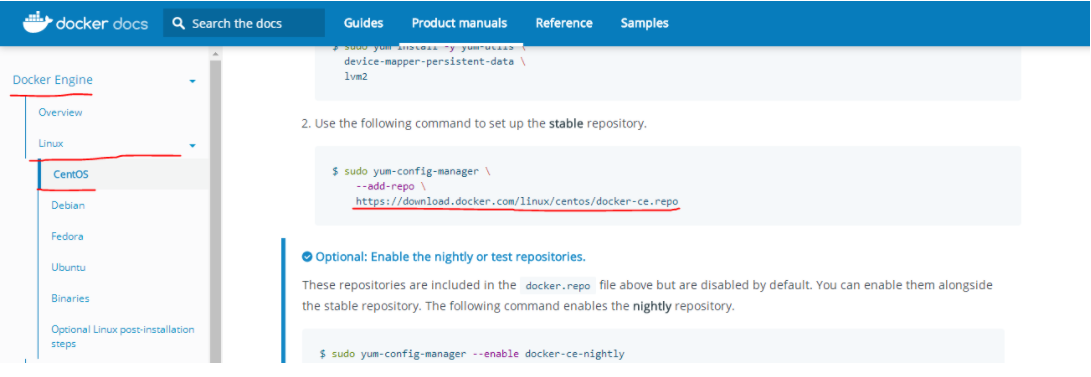
在文档中找到对应的系统版本,就可以看到关于下载Docker的repo源
因为官网的Docker的repo源是通过走国外的网站来获取的,对于网络不是很好的,建议使用阿里的镜像站
进入阿里的镜像站,找到docker-ce版本,在官网还有docker-ee版本,是企业版,会收费
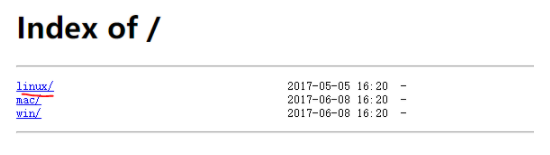
这里好像阿里的网址改版了,进入后最下面的相关连接的下载地址才是我们想要的,也可以直接点击这里,根据系统版本选择对应的系统,这里以Linux为例
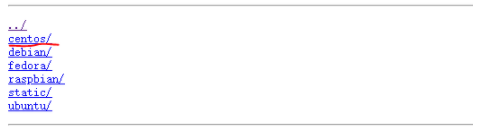
同样选择linux的系统版本,以centos为例
这里要求系统版本号为3.10,内核为7.5
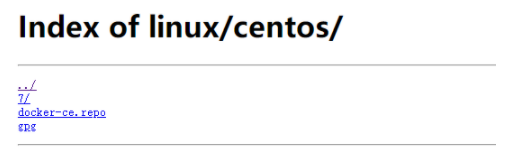
进入centos后,可以看到如图所示,其中gpg的路径用来校验安装docker的正确率,就是一个docker密钥,这个gpg的路径一会要用到,记下来https://mirrors.aliyun.com/docker-ce/linux/centos/gpg
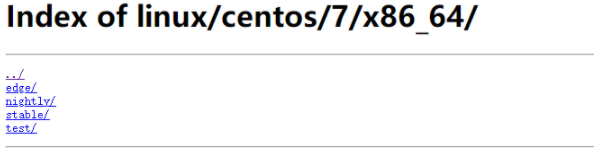
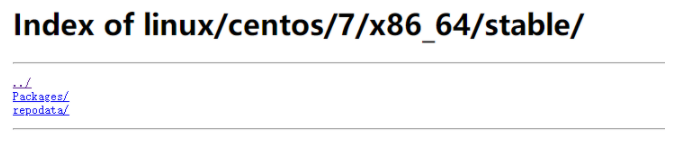
x86_64
如上图所示stable代表稳定版本,稳定版本中的repodata,就是yum安装的源路径,Packages是安装是所用到的rpm包,所以正在编写yum源安装docker时,还需要记录稳定版本的路径https://mirrors.aliyun.com/docker-ce/linux/centos/7/x86_64/stable/
编写docker的yum源 1 2 3 4 5 6 7 8 9 vim /etc/yum.repos.d/docker.repo # 原来存在的repo文件不需要动 添加 [docker] name=docker rpm源路径 baseurl=https: enabled=1 gpgcheck=1 # 启动密钥校验 gpgkey=https:
安装docker-ce 1 2 3 4 yum -y install docker-ce docker -v # 查看docker版本 systemctl start docker # 启动docker docker version # 详细版本信息
推荐下载以后学习中用到的镜像 使用docker pull命令下载镜像
1 2 3 docker pull centos # 演示生产环境迁移或者安装软件时使用,默认下载完是8版本 docker pull busybox # 工具集,使用centos需要用到 docker pull httpd # apache
验证镜像是否下载完成
1 2 3 4 5 6 docker images # 是否可以看到刚下载的三个镜像 REPOSITORY TAG IMAGE ID CREATED SIZE ubuntu latest 4e5021d210f6 2 days ago 64.2MB httpd latest c5a012f9cf45 3 weeks ago 165MB centos latest 470671670cac 2 months ago 237MB 下载完成后centos的版本需要特别注意,因为docker目前仅支持Centos7版本,所以要进入容器去看一下centos的版本
运行centos容器
查看容器版本,如果是8版本需要删除下载7版本
1 2 3 4 [root@d280c874ea80 /]# cat /etc/redhat-release CentOS Linux release 8.1.1911 (Core) [root@d280c874ea80 /]# exit 可以这里的centos是8版本,所以要将这个镜像删除
由于刚才是先使用镜像运行了容器,i才看到的版本号,容器占用了镜像在运行,所以要先将运行的容器关闭或者删除
删除需要知道刚才运行容器的容器ID
1 2 3 4 5 docker ps -a # 查看运行容器 CONTAINER ID IMAGE COMMAND CREATED STATUS PORTS NAMES faf96581cf3f centos "/bin/bash" 10 seconds ago Exited (0) 3 seconds ago recursing_goldstine docker rm faf96581cf3f # 停止容器运行 删除镜像
删除centos:latest的最新版本
1 2 docker rmi centos:latest # 删除最新版本 docker pull centos:7 # 下载centos7版本
更改标签
1 2 docker tag centos:7 centos:latest docker rmi centos:7
可以使用上面的方法去查看centos的版本,已经变为7.7,或者直接查看
1 docker run centos cat /etc/redhat-release
Docker的镜像加速 即使使用了阿里云的镜像站,但是拿取的镜像还是走国外的网站,通过命令docker info可以看到
1 2 3 4 5 6 7 8 9 10 11 12 13 14 15 16 17 18 19 20 21 22 23 24 25 26 27 28 29 30 31 32 33 34 35 36 37 38 39 40 41 42 43 44 45 46 47 [root@192 ~]# docker info Client: Debug Mode: false Server: Containers: 0 Running: 0 Paused: 0 Stopped: 0 Images: 2 Server Version: 19.03.8 Storage Driver: overlay2 Backing Filesystem: <unknown> Supports d_type: true Native Overlay Diff: true Logging Driver: json-file Cgroup Driver: cgroupfs Plugins: Volume: local Network: bridge host ipvlan macvlan null overlay Log: awslogs fluentd gcplogs gelf journald json-file local logentries splunk syslog Swarm: inactive Runtimes: runc Default Runtime: runc Init Binary: docker-init containerd version: 7ad184331fa3e55e52b890ea95e65ba581ae3429 runc version: dc9208a3303feef5b3839f4323d9beb36df0a9dd init version: fec3683 Security Options: seccomp Profile: default Kernel Version: 3.10.0-862.el7.x86_64 Operating System: CentOS Linux 7 (Core) OSType: linux Architecture: x86_64 CPUs: 1 Total Memory: 974.6MiB Name: 192.168.1.6 ID: JZ5Z:EWGC:XMEA:VEVX:MR7N:ACYZ:PPVD:GAWU:HURX:7PZ4:YLKE:O47S Docker Root Dir: /var/lib/docker Debug Mode: false Registry: https://index.docker.io/v1/ # 这就是国内镜像站镜像所在的仓库地址,还是docker的网站 Labels: Experimental: false Insecure Registries: 127.0.0.0/8 Live Restore Enabled: false
国内镜像站 我们可以将镜像站改到国内的镜像站,这里国内有两个非常好用的镜像加速服务
Daocloud
市面上比较大的公司
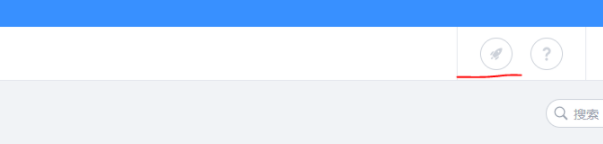
注册登录后,在用户页面点击加速器的标志
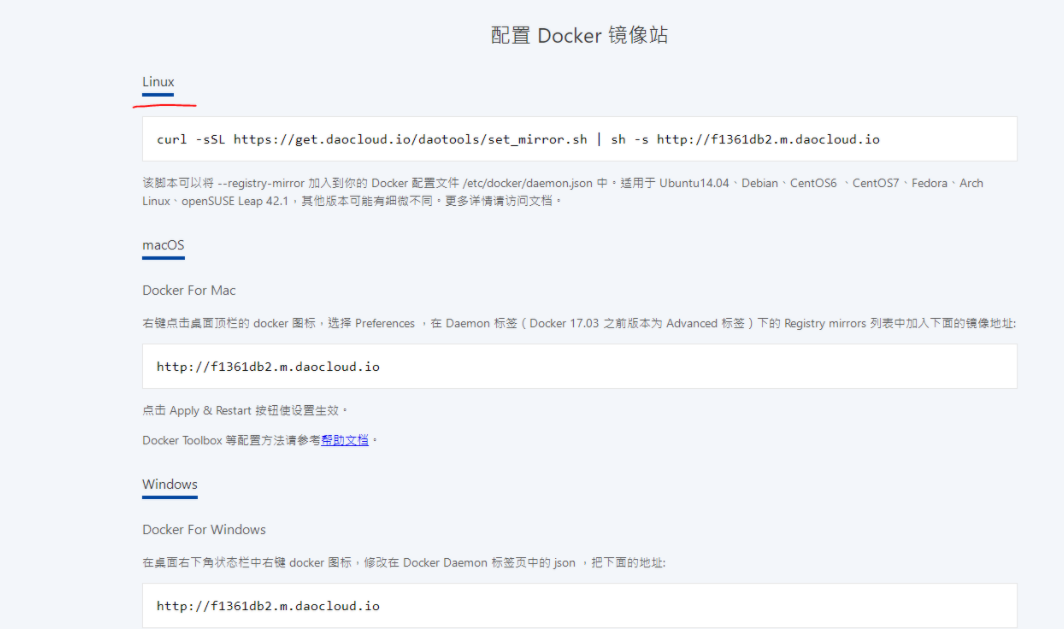
然后找到对应的系统,复制命令在系统中执行即可
1 curl -sSL https://get.daocloud.io/daotools/set_mirror.sh | sh -s http://f1361db2.m.daocloud.io
执行完毕后,需要重启docker服务,再次查看docker info,会发现在最下方的输出信息如下
1 2 Registry Mirrors: http://f1361db2.m.daocloud.io/
这个配置会在/etc/docker/daemon.json文件中
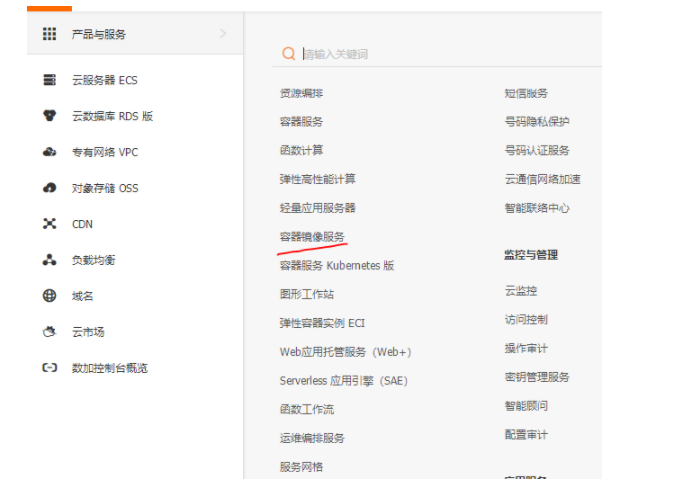
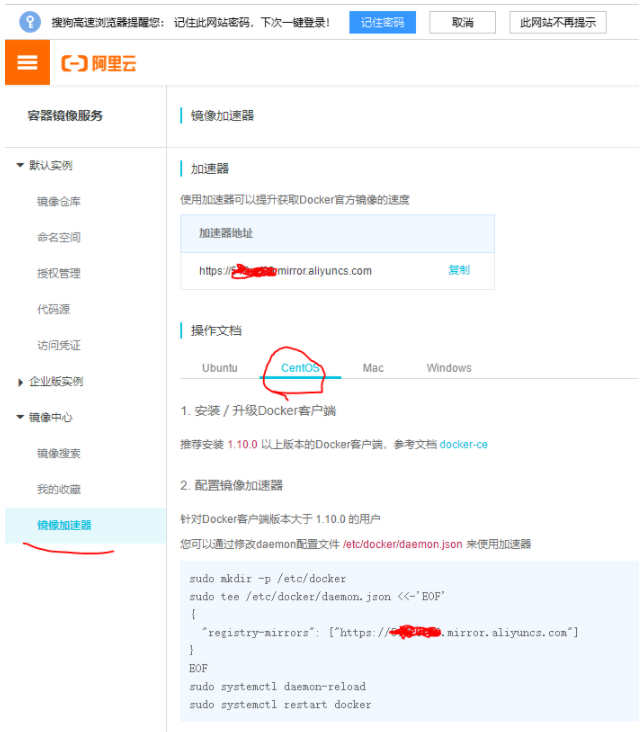
aliyun 还有一种就是使用阿里云的镜像加速
首先登录阿里云账号,进入控制台
第一次使用需要设置Registry登录密码
图中部分就是我们要添加到docker配置文件中的内容,会自动生成,如果直接修改daemon.json配置文件,就复制加速器地址就可以,如果是还没有daemon.json,就复制以下配置加速器的命令即可完成阿里云镜像的加速
此时,在重启docker,去查看docker info会看到最后的输出信息变成了你复制的加速器地址
1 2 Registry Mirrors: https://xxxxxx.mirror.aliyuncs.com/
镜像概念 指计算机中默认的镜像,每个用户都可以进行修改,docker pull后的镜像没有在物理机,需要单独保存到物理机
1 docker save -o 保存后的路径以及名字 要保存的镜像名:标签
如:
1 docker save -o centos.tar centos:latest
Docker监听 该已经发现了,启动docker后,使用netstat -anpt | grep docker并没有监听地址,但是查看启动进程ps -ef | grep docker是没有问题的
现在希望docker变成一个有监听进程的服务
1 2 3 vim /usr/lib/systemd/system/docker.service 在service模块找到14行修改为以下添加了-H tcp://0.0.0.0 ExecStart=/usr/bin/dockerd -H fd:// -H tcp://0.0.0.0 --containerd=/run/containerd/containerd.sock
重新加载配置文件并重启服务
1 2 systemctl daemon-reload systemctl restart docker
再次查看端口
1 2 3 netstat -anpt | grep docker tcp6 0 0 :::2375 :::* LISTEN 60630/dockerd 2375就是docker的端口
所需要开启的功能 1 2 3 4 5 6 7 8 9 [root@localhost ~]# vi /etc/sysctl.conf 添加: net.bridge.bridge-nf-call-iptables = 1 //开启桥接流量转发 net.bridge.bridge-nf-call-ip6tables = 1 //开启ipv6的桥接流量转发 net.ipv4.ip_forward = 1 //路由表转发 [root@localhost ~]# sysctl -p [root@localhost ~]# modprobe ip_vs_rr //rr轮训转发 [root@localhost ~]# modprobe br_netfilter //桥接卡的iptables的filter表